December with Dear Wedding Day Cross-over: Ornament & Snowflakes
Today's post is a double feature: ornaments and snowflakes! Enjoy making these custom escort cards that also serve as ornament favors!
What You'll Need:
1. Acrylic Paint | 2. Air-Dry Clay | 3. Circular Cookie Cutter (or Mason Jar Lid) | 4. Twine | 5. Paint Brush | 6. Wooden Skewer (or Straw) | 7. Snowflake Stamps | 8. Alphabet Stamps | 9. Parchment Paper
Steps:
1. Roll out the clay on parchment paper.
2. Stamp clay with snowflakes.
3. Cut out circles. Remember to have space for the names and numbers, so don't overwhelm the circle with snowflakes.
4. Use the skewer (or straw) to make a hole at the top of the ornament.
5. Stamp name and table number into clay.
6. Let dry. For mine, it took around four days to fully dry.
7. Paint clay. Water down the acrylic paint to ensure that it gets into all of the divots. I decided to do two-toned, so used the watered down paint first and then painted the remainder of the clay with full acrylic paint.
8. Tie twine onto ornaments.
Voila! Adorable escort cards that can also serve as favors.
Personal "Ornament" Post:
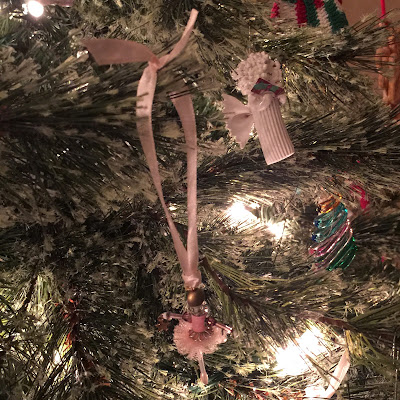
I used to be a competitive dancer. I competed in jazz, ballet, lyrical, and my all-time favorite, tap. My parents started to jokingly call me "tiny dancer," so one year they gave me this ornment to commemorate that. It's one of my favorite ornaments as it always takes me back to a time where dance was my world. Performing, competing, and dancing my heart out will forever be some of my favorite memories.
Personal "Snowflake" Post:
I love cards. For me, they are a perfect way to express how you feel about another person. It's a keepsake; it's someone's true thoughts written down. This year, I'm sending holiday cards to my friends to remind them that I'm thinking of them and to let them know I love them.
Tomorrow on DWD: Glitter


Add your comment